
Slim Jim
The owner of the original Beer Fridge sub decided that he needed something to fit into his crowded room a bit better.
We decided to build a new box that would sit flat against the wall to match his DVD shelves.
This would give the opportunity to do a better job with the porting.
Two straight 86mm side firing ports drop the airspeed below 10m/sec which in conjunction with 10mm flares both ends,
means no more port noise complaints.
The only available position for the amp was to front mount it and to use a cable tunnel
which exits at the side. Tunnel bungs cut from a swimming pool flotation toy, stop the cables from rattling.
Since we are only using an 80w amp and open-weave grille cloth, overheating should not be an issue.
- Single 10 inch DickSmith Driver
- 80W Jaycar AMP
- 90 litre 3.2cu.ft enclosure 1130H * 200D * 590W
- Tuning Frequency 29 Hz
- Two 86mm ports
- WinISD Calculated Peak Output 105 dB
- Weight 36kg - 79lb
- Estimated cost $450 Australian
A port-like tube mounted through the box to allows a safety screw to stabilise the box against the wall.
This keeps things airtight and saves the owner from the usual approach of removing the driver or fitting a bracket
The grille is full height but not full width. By making it just wide enough to cover the driver and amp
it supports the cloth well enough to hopefully avoid the anoying "grille slap" that I have had on other models
Apart from the port airspeed, the performance is the same as the original sub, so I'll dispense with the graphs.
Flare-it shows that the 10mm flares are adequate for just about any situation
If we were going by the book, an increase in flare size to 18mm or better wouldn't hurt.
Slim Jim Gallery
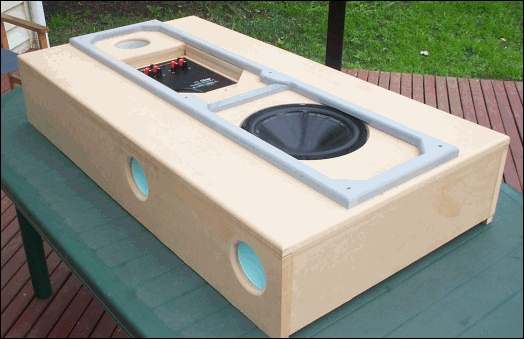
Internal Fittings
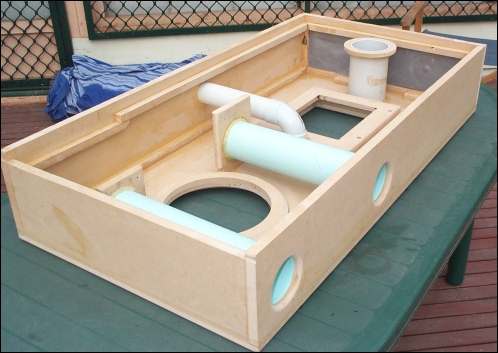
Internal view just before gluing the back on. Acoustic wool will be stapled across the centre later.
The usual double thickness front was discounted due to the slim design.
Instead, the area behind the driver was strengthened. Blocks were fitted where the grille clips are installed,
giving the required depth of timber.
The port intakes were supported by small panels which allowed the routing of flares, and double as braces
A ring was added to the tube at the top of the photo. The tube is to give access to fit a bolt to hold
the speaker against the wall. The ring, when glued to the back panel, will provide extra strength and an airtight seal.
The step in the edge bracing is where the back panel clears the skirting board when placed against the wall
Test Fit of grille
Test fit of grille to check clearance with driver. The grille was made just wide enough to cover the driver and amp.
Grille Detail
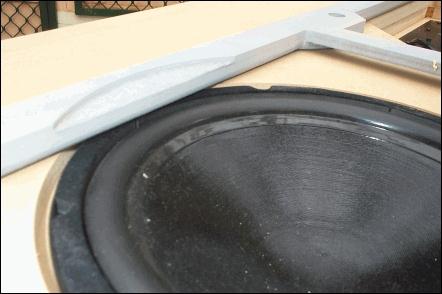
Grille turned over to show rebate for driver - cut this bit out first. Also visible is the cutaway on the brace to cut down on grille slap
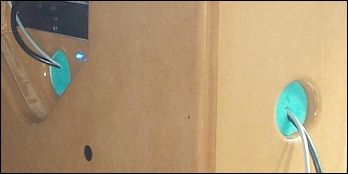
Access for mounting
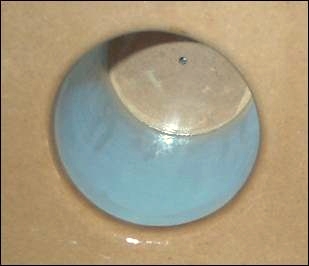
Close-up of the access for fitting a securing bolt through the back panel of the sub and into the wall behind. Just a bit of insurance given that the slim design makes it easy for the sub to fall over.
Amplifier recess
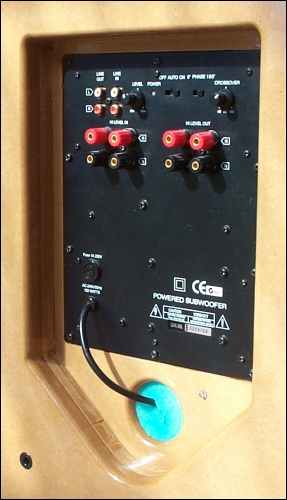
The Amp is recessed by two layers of MDF to prevent signal cables from touching the grill cloth when fitted. Cable tunnel exits through the side of the box
Tunnel Bungs
Tunnel bungs were cut from a foam swimming pool flotation "noodle". They stop any rattle from the cables and look neat too!
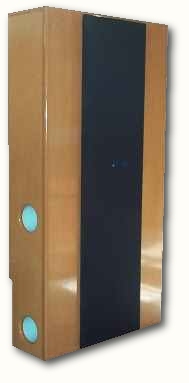
A blue power LED was fitted to remind that the sub was on - can still be seen through the grille
Almost Ready

Quick check of appearance after two coats of poly
All Done
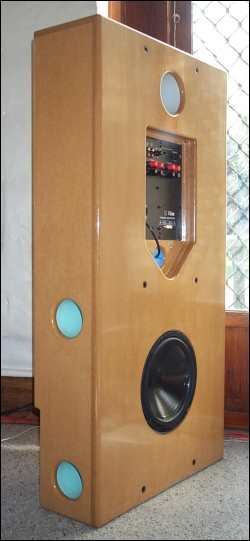
The completed speaker with three coats of polyurethane